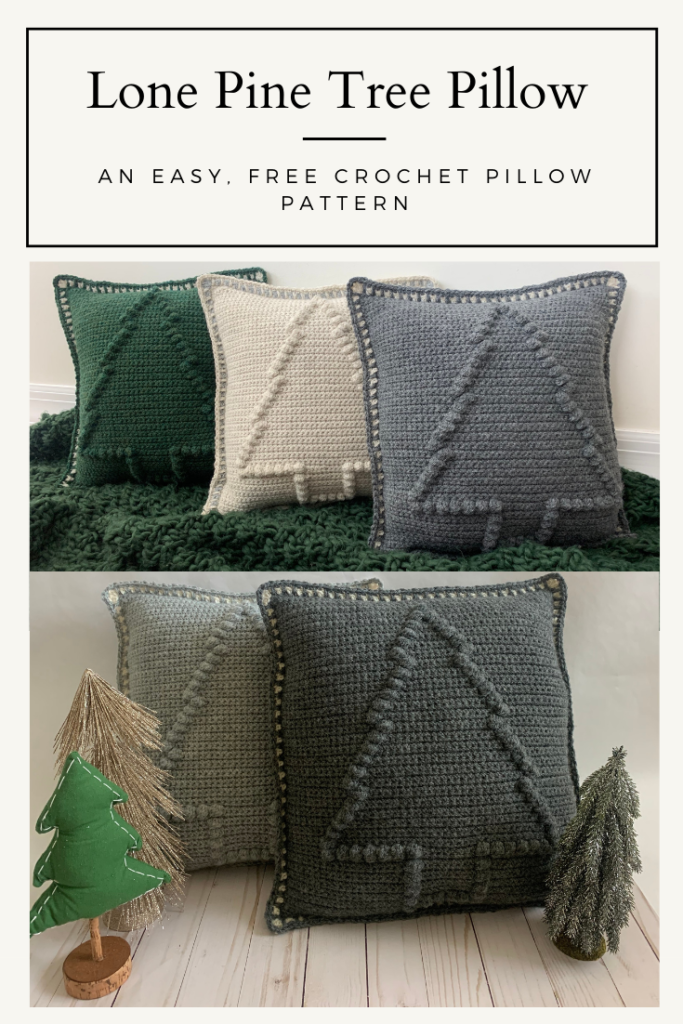
Inspiration For Crochet Pillow
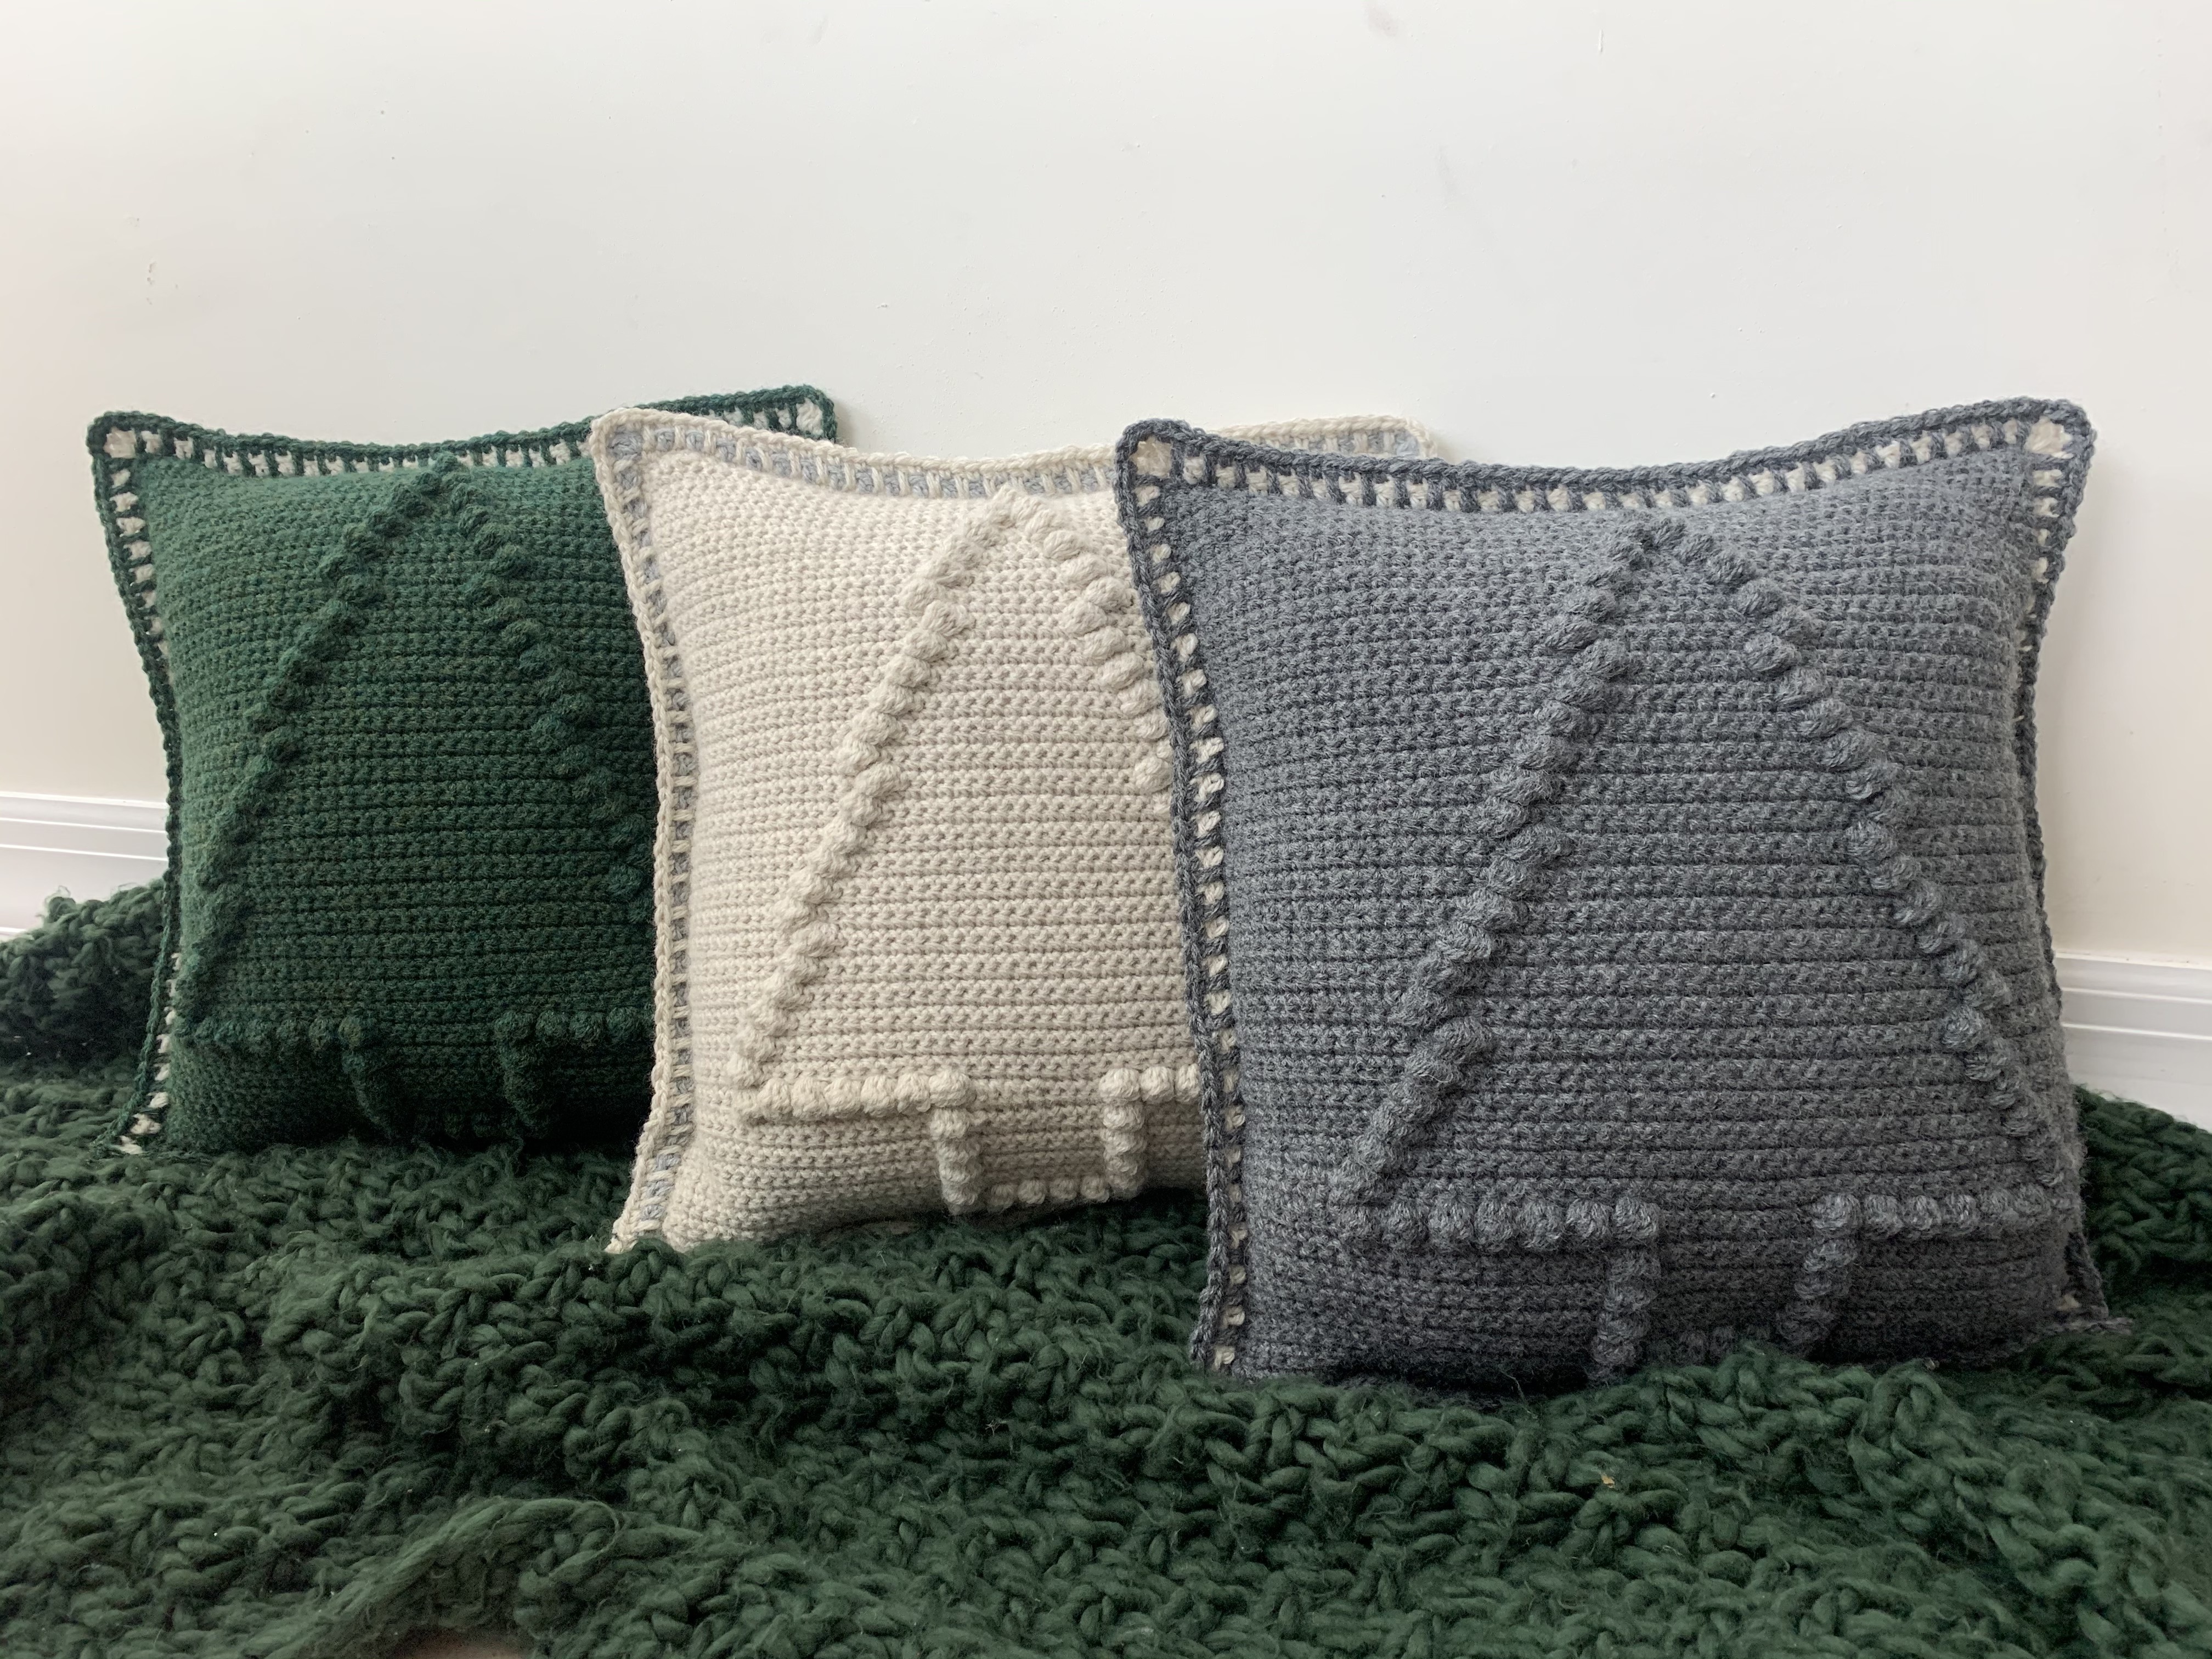
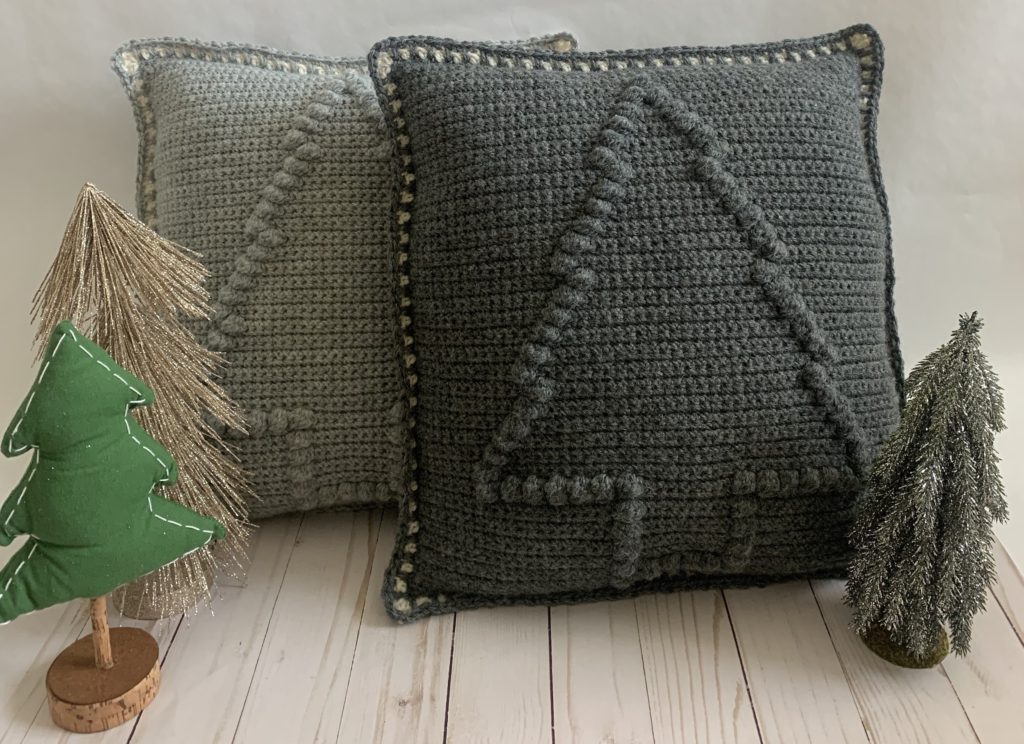
First, I love the cozy modern farmhouse look so I wanted to create another home decor piece to enjoy. As Christmas was approaching I thought I would combine two of my favorite things into this project, Christmas and our family cabin in Northern Wisconsin. Second, Christmas is my absolute favorite time of the year and our cabin in Northern Wisconsin is my most favorite place to visit. Third, the cabin has a trail called The Lone Pine Trail which leads to the most magnificent white pine tree I’ve ever seen. It was only fitting to to create The Lone Pine Tree Crochet Pillow free pattern to add some decor to the house.
This tree crochet pillow is a great project for so many reasons. First, it won’t take up too much of your time. Second, the pattern uses simple single crochet and bobble stitches. Third, you can use any color yarn for this pillow to match your own decor. Finally, the tree crochet pillow can also be used year round because the back of the pillow is a clean single crochet across.
Also, this pillow uses simple stitches so a beginner can work up this project with no problems. The result is a pillow that looks like it came out of a high end boutique. I find that this tree crochet pillow is perfect for a holiday gift or for your own holiday decor.
Yarn
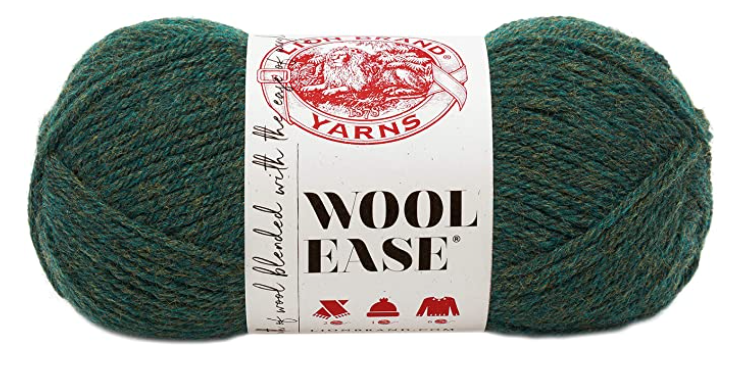
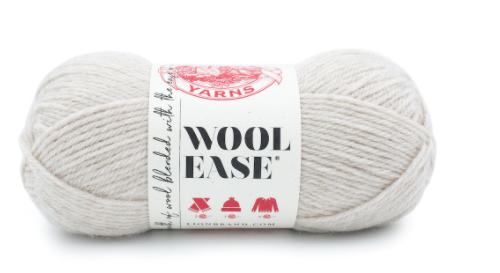
The most perfect yarn for this tree crochet pillow is Lion Brand Wool-Ease. First, it gives the pillow that cozy farmhouse feel that wool gives off. Second, this yarn comes in many colors for you to achieve the look that best suits your taste. Finally, you cannot beat the price of this yarn at $4.99. Also, another plus is that it is available in almost every craft store and often offered with a coupon.

Pattern
Yarn – Lion Brand Wool-Ease, Weight 4 Medium, (80% Acrylic, 20% Wool,197 yards/3oz/85g/180m), Color – (A) Forest Green Heather – 3 skeins, (B) Natural Heather – 1 skein
Hook Size – J (Susan Bates Hook)
Gauge – 4” square = 13 sts x 18 rows
Finished size – 16” W x 16” H
Will need a tapestry needle, scissors, and 16” x 16” pillow insert.
Stitch markers may also be used to help with seaming.
Abbreviations
bo bobble stitch
ch chain
dc double crochet
rep repeat
sc single crochet
st(s) stitch(es)
yo yarn over
Bobble stitch: *Yo, insert hook into stitch, yo and pull up a loop, yo and pull through two loops; repeat from * in same st until you have 6 loops on your hook. Yo, pull through all 6 loops.
All single crochet stitches are worked as follows: insert hook into stitch, yarn under and bring the hook from back to front, draw yarn through the stitch and up onto the working area of the crochet hook, you will have two loops on the hook. Yo and draw through both loops on the hook. Yarn under was used for this project for a slant/twisted look with increased tension.
Pattern Notes
First, Ch 1 at the beginning of the row does not count as a stitch.
Second, Do not skip first stitch in each row.
Third, After ch 54, work in back bump for Row 1. Rotate the chain toward you and insert your hook though the back bump loop.
Finally, Even rows are right side of the pillow.
Front of pillow
Begin: with color A ch 54.
Row 1: sc into back bump in 2nd ch from hook and in each ch across; ch 1, turn. (53)
Row 2: sc across; ch 1, turn. (53)
Row 3 – 7: rep Row 2.
Row 8: sc 26, bo, sc 26; ch 1, turn.
Row 9: rep Row 2.
Row 10: sc 25, bo, sc, bo, sc 25; ch1, turn.
Row 11: rep Row 2.
Row 12: sc 24, bo, sc 3, bo, sc 24; ch 1, turn.
Row 13: rep Row 2.
Row 14: sc 23, bo, sc 5, bo, sc 23; ch 1, turn.
Row 15: rep Row 2.
Row 16: sc 22, bo, sc 7, bo, sc 22; ch 1, turn.
Row 17: rep Row 2.
Row 18: sc 21, bo, sc 9, bo, sc 21; ch 1, turn.
Row 19: rep Row 2.
Row 20: sc 22, bo, sc 7, bo, sc 22; ch 1, turn.
Row 21: rep Row 2.
Row 22: sc 21, bo, sc 9, bo, sc 21; ch 1, turn.
Row 23: rep Row 2.
Row 24: sc 20, bo, sc 11, bo, sc 20; ch 1 turn.
Row 25: rep Row 2.
Row 26: sc 19, bo, sc 13, bo, sc 19; ch 1, turn.
Row 27: rep Row 2.
Row 28: sc 18, bo, sc 15, bo, sc 18; ch 1, turn.
Row 29: rep Row 2.
Row 30: sc 17, bo, sc 17, bo, sc 17; ch 1, turn.
Row 31: rep Row 2.
Row 32: sc 18, bo, sc 15, bo, sc 18; ch 1, turn.
Row 33: rep Row 2.
Row 34: sc 17, bo, sc 17, bo, sc 17; ch 1, turn.
Row 35: rep Row 2.
Row 36: sc 16, bo, sc 19, bo, sc 16; ch 1, turn.
Row 37: rep Row 2.
Row 38: sc 15, bo, sc 21, bo, sc 15; ch 1, turn.
Row 39: rep Row 2.
Row 40: sc 14, bo, sc 23, bo, sc 14; ch 1, turn.
Row 41: rep Row 2.
Row 42: sc 13, bo, sc 25, bo, sc 13; ch 1, turn.
Row 43: rep Row 2.
Row 44: sc 14, bo, sc 23, bo, sc 14; ch 1, turn.
Row 45: rep Row 2.
Row 46: sc 13, bo, sc 25, bo, sc 13; ch 1, turn.
Row 47: rep Row 2.
Row 48: sc 12, bo, sc 27, bo, sc 12; ch 1, turn.
Row 49: rep Row 2.
Row 50: sc 11, bo, sc 29, bo, sc 11; ch 1, turn.
Row 51: rep Row 2.
Row 53: sc 10, bo, sc 31, bo, sc 10; ch 1, turn.
Row 53: rep Row 2.
Row 54: sc 9, bo, sc 33, bo, sc 9; ch 1, turn.
Row 55: rep Row 2.
Row 56: sc 9, [bo, sc] 7 times, sc 8, [bo, sc] 7 times, sc 8; ch 1, turn.
Row 57: rep Row 2.
Row 58: sc 21, bo, sc 9, bo, sc 21; ch 1, turn.
Row 59: rep Row 2.
Row 60-65: rep previous 2 rows 3 more times (creating tree trunk).
Row 66: sc 21, [bo, sc] 6 times, sc 20; ch 1, turn.
Row 67 – 73: rep Row 2. Fasten off, weave in ends.
Back of pillow
Begin: with color B ch 54.
Row 1: sc into back bump in 2nd ch from hook and in each ch across; ch 1, turn. (53)
Row 2 – 73: sc across; ch 1, turn. Fasten off, weave in ends. (53)
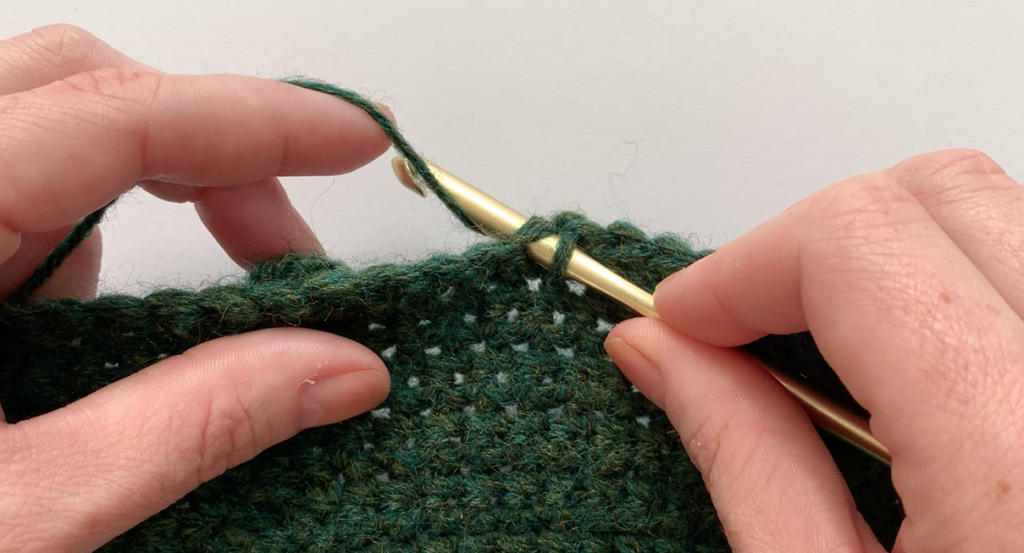
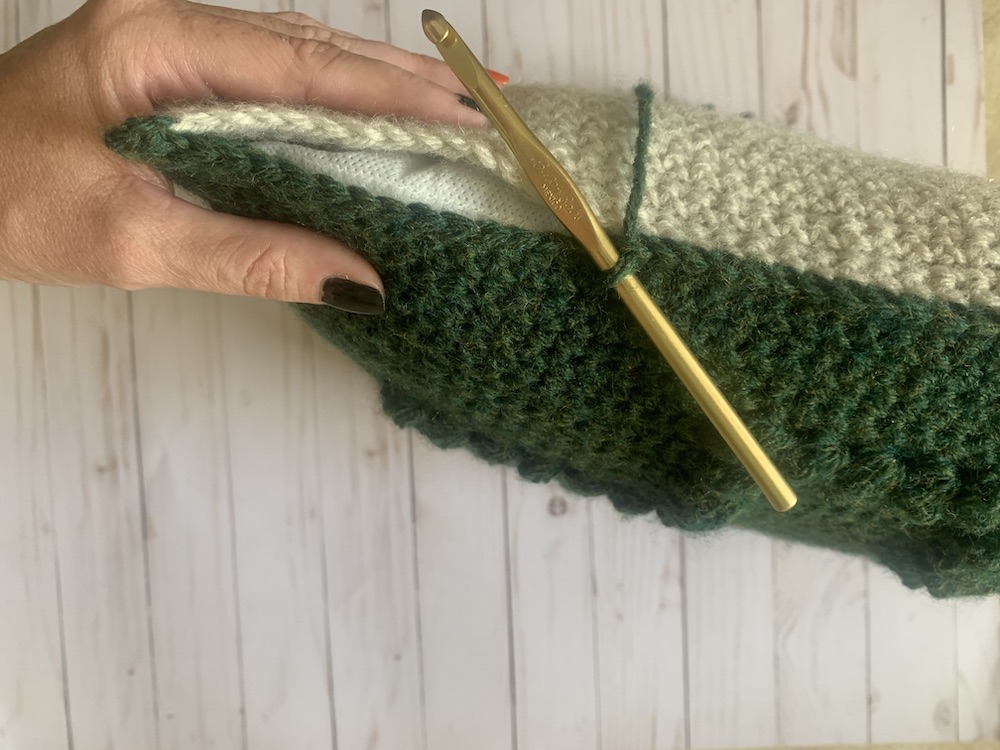
Border
Line up both sides of pillow with rs facing out.
Note: Line up both sides and secure them with stitch markers to hold in place.
Round 1: First, attach color A in corner st, work (sl st, ch 1, sc, ch 2, sc) in corner st, sc 51 across, (sc, ch 2, sc) in corner sp, sc 51 down side working approximately 2 sc for each 3 rows, (sc, ch 2, sc) in corner sp, sc 51 across. Secondly, at this point insert your 16” x 16” pillow. Third, with stitch markers hold the two sides closed while finishing the last side of the pillow border. Once pillow is inserted (sc, ch 2, sc) in corner sp, sc 51 across, sl st in 1st sc in corner. Finally, fasten off, weave in ends.
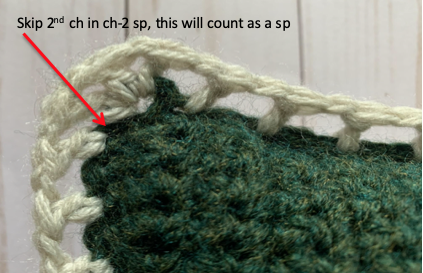
Round 2: With color B sl st in ch-2 sp of previous row, *(dc, ch 1, dc, ch 1, dc, ch 1) in corner ch-2 sp, sk the 2nd ch of ch-2 sp as this will count as a sp, [dc, ch 1, sk next st] to corner ch-2 sp, rep from * 3 more times, sl st in 1st dc of corner. Fasten off, weave in ends.
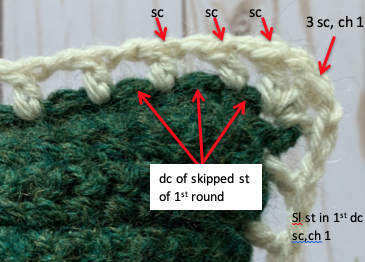
Round 3: With color A sl st in 1st dc in corner, ch 1, *(sc in 1st dc, ch 1, 3 sc in next dc, ch 1, sc in 3rd dc of corner), [working over the ch-1 sp from round 2 work a dc in skipped st of 1st round, sc in next dc] to 1 st before corner, dc in last skipped sc, rep from * 3 more times, sl st in 1st sc. Fasten off, weave in ends.
28 Comments
Hello! Such a cute pattern!
I have a question on this one, on rows 3-7 you say to repeat Row 1 and the all the way throughout it says to repeat row 1, row 1 says to sc in the back bump in the second chain from the hook and in each across… but for rows 3-7 do you mean to crochet in the back loop? Or did you mean to say repeat row 2 , sc all the way across? If row one, how do you sc in the back bump if your already pass row 2, you wouldn’t have a chain any longer?
Hope you can help haha I might be just having a fun moment. Thank you!
I’m so sorry for the mistake. Rows 3-7 should say repeat Row 2.
So all sc should be worked in the back bump?
No, just the first row after your beginning chain.
Found this cute pattern on Pinterest!! So if you only work into the back bump on the first row, then what stitch are you working into for the rest of the rows?? So you do your chain1 turn work, then sc in back /top of stitches or both top and bottom?
You will work through both loops as normal for the rest of the pattern. After you ch 1 and turn you will work a sc through both loops.
Love this pattern-You start with 54 ch. And row 2 we have 53 and somehow we have lost 2 sc. Is there an update pattern?
Rows 3-7 should have 53 single crochet stitches. Make sure you do not skip the first single crochet.
Hello,
I am enjoying this pattern. I have three skeins of the green and one skein of the natural heather. I’m just checking to make sure that I switch to the natural heather for the back side? I’m afraid I’ll run out of the natural heather with only one skein and I think I’d have a lot of green left over. Thanks!
Both the front side and back side are done in the green. However, you can switch to another color for the back side.
Love this pattern, although mine came out rather large (20×20). I used the exact same yarn and hook in your directions, and I tend to crochet on the tighter side. Any idea why it came out so large?
Since everyone crochets differently, measurements can vary even when using the same hook and yarn. Did you do a sample swatch to measure your gauge? I recommend making a swatch and measuring the inner 4″ of the swatch to verify the proper gauge. If not, you can get a 20″ pillow insert to fit your project.
Finished today! So pretty in person. The border makes it!
Yay! So glad you love it.
Since the directions say to switch to color B for the back and the picture below shows joining 2 different colored sides, I was a bit confused at first too. I just figured that since the pattern called for 3 skeins of green, that both sides would be the same color.
I’m sorry for the confusion. You can make the pillow the same color on both sides.
For a square pillow, why would it be so much longer than it is wide? My pillow came out to 16 x 18.
That is probably caused by your tension. You would want to compare your 4″ swatch to the one listed on the pattern, then adjust your stitch count and row count.
I love this and am ready formround two of the border but I want the border shown in the top picture, not the one in the pattern. How was that completed?
The border shown in the top picture is the same as the one in the pattern.
Hi,
Did you manage to do this? As was also wondering about the pattern images for the border having holes while in the main image there is a second colour filling in these empty spaces.
If you read the pattern it will explain how to do the second color that fills in the border.
I’m thrilled to report that I was able to make my mother and 3 daughters these pillows for Christmas and they loved them. Your pattern was lovely and I appreciate your making it available for all of us! Thank you!
I love to hear that!!