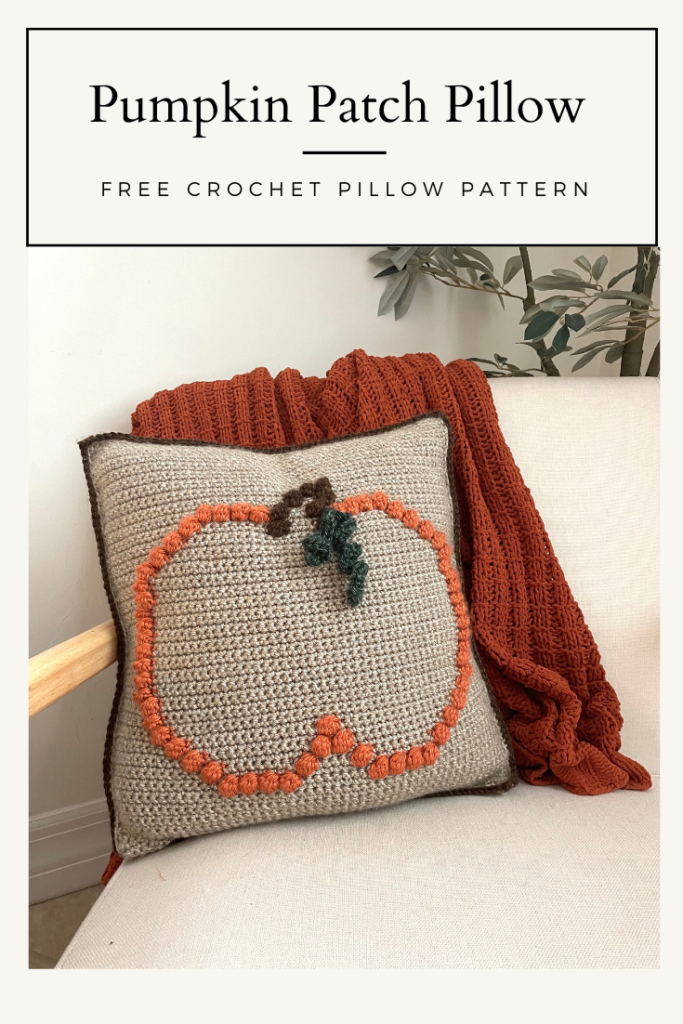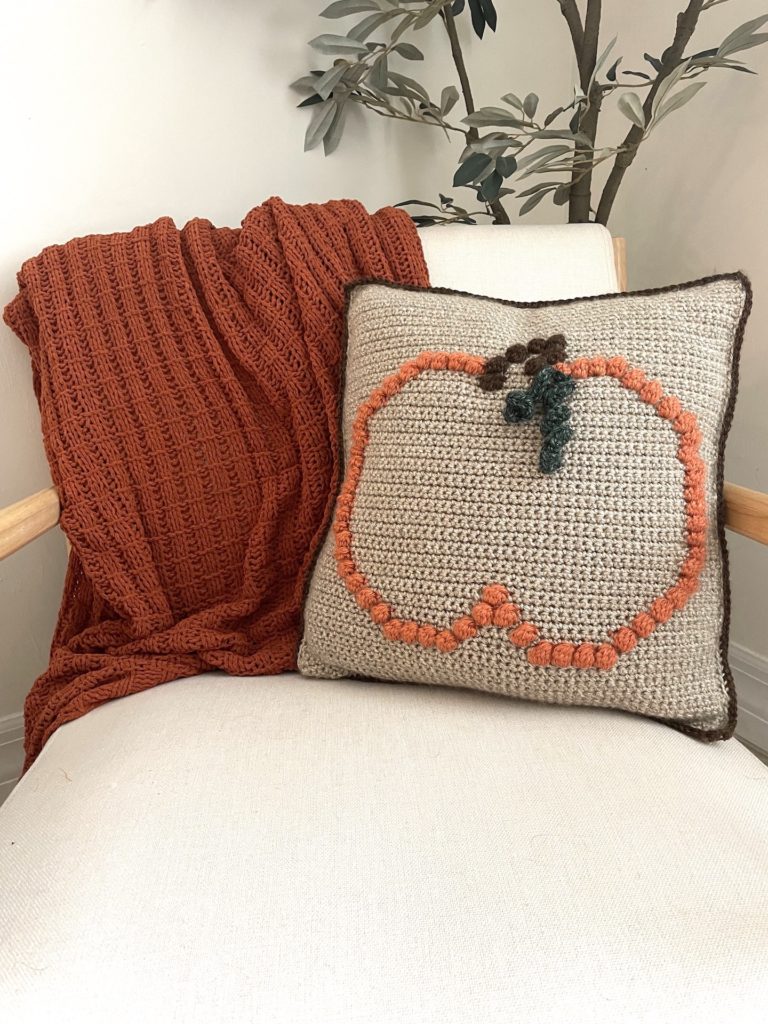
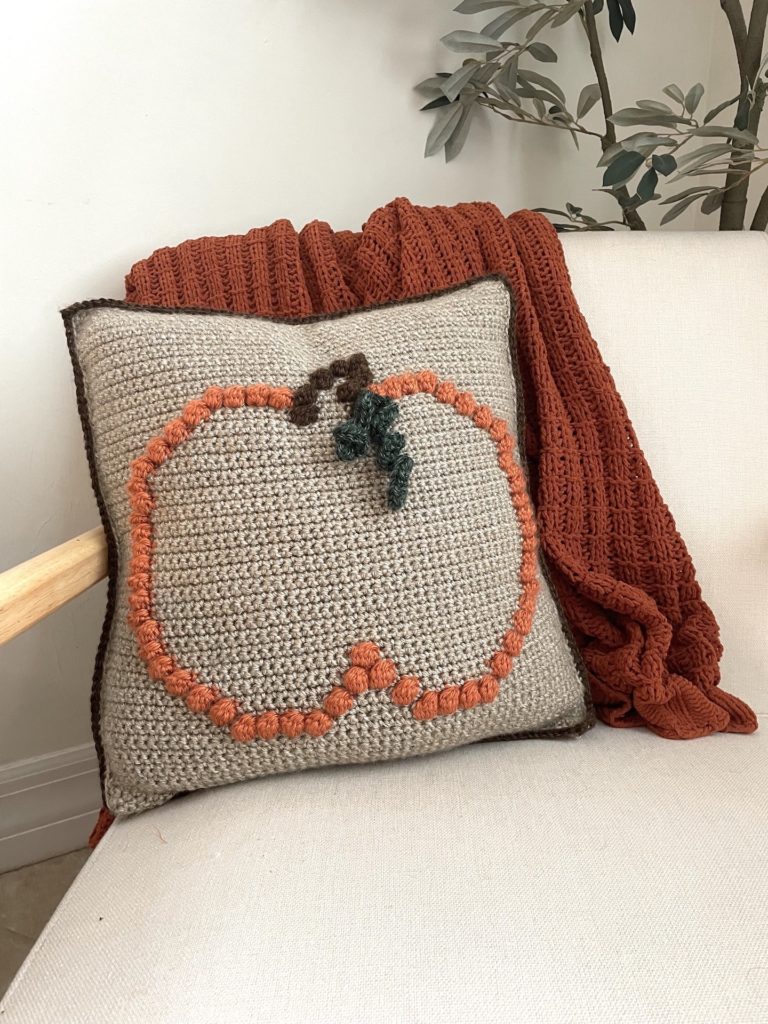
This crochet pumpkin pillow pattern gives me all the fall vibes. Finally, September arrives and I get in total holiday mode. Therefore, it’s time for all fall decor to come out, pumpkin patches, apple cider doughnuts, and crisp air. The Pumpkin Patch crochet pumpkin pillow is the perfect fall decor. The bobble stitch gives this pillow the best texture and cozy feel.
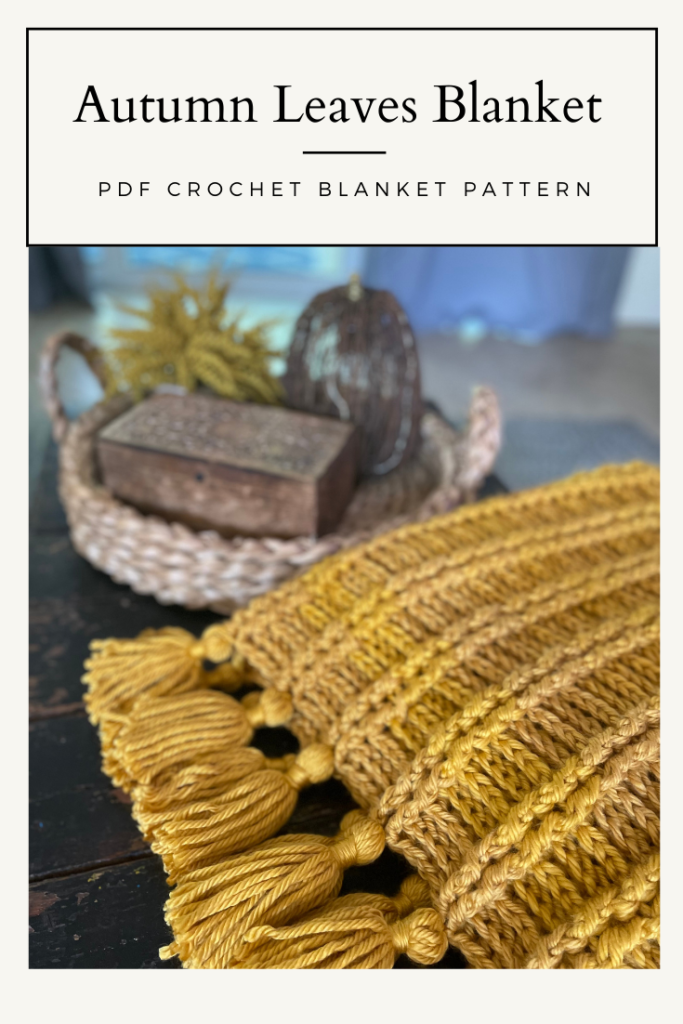
Get the Autumn Leaves Blanket Pattern
Inspiration
Once we entered September I immediately busted out my fall decor. I love the cozy feel of fall decorations and I’m secretly hoping that our hot Florida weather starts cooling down! I grew up in Northwest Colorado in a small ski town, so I got to experience the cool fall air and colors changing in the Rocky Mountains. Well, here in Southwest Florida it does not cool down in the fall and everything stays green. So, getting all my decor out gets me in the fall spirit. As I pulled out the 20 plus pumpkin decorations I have I immediately knew I needed to make a crochet pumpkin pillow.
Get the PDF Pattern – Crochet Pumpkin Pillow Pattern
Initially, as I was thinking of what texture and style I wanted with this pattern I thought about one of my most favorite patterns that I have written, The Lone Pine Tree Pillow. Second, I love the bobble texture. Third, I knew I wanted the pumpkin to stand out, so I knew I wanted to highlight the outline of the pumpkin in orange.
Yarn
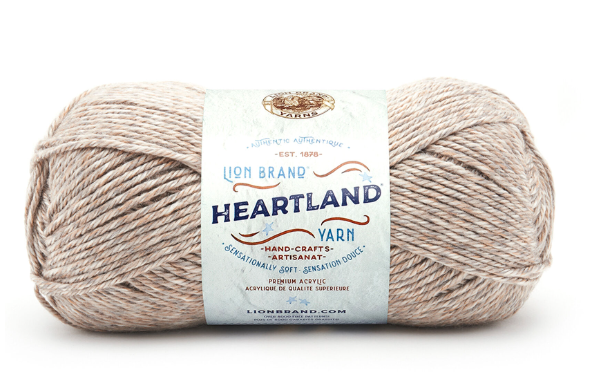
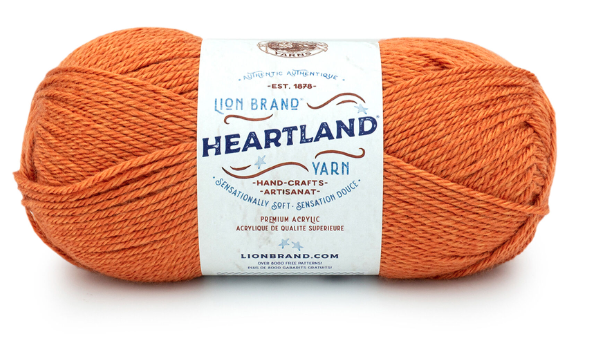
I knew what I wanted this pillow to look like in my head, so I headed to the craft store. Immediately when I saw it I knew I wanted to use Lion Brand Heartland Yarn, it was perfect. First, this yarn is a medium weight yarn that is so soft. Second, all the colors are inspired by the natural beauty of the different landscapes of the USA. These shades give this crochet pumpkin pillow such a cozy fall vibe. Third, this brand is widely available at craft stores. Finally, most of you know that Joann Fabric’s offers great coupons so you can typically get this yarn at a great price.
Crochet Pumpkin Pillow Pattern Project Details
Yarn – Lion Brand Heartland, Weight 4 Medium, (100% Acrylic, 251yds/230m/5oz/132g), Color – (A) Grand Canyon – 2 skeins, (B) Gateway Arch – 1 skein, (C) Sequoia – 1 skein, (D) Kings Canyon – 1 skein
Hook Size – J, 6mm
Gauge – 4” square = 13 sts x 18 rows
Finished size – 16” W x 16” H
Additional Materials: tapestry needle, scissors, and 16” x 16” pillow insert.
Stitch markers may also be used to help with seaming.
Abbreviations
bo bobble stitch
ch chain
hdc half double crochet
rep repeat
sc single crochet
st(s) stitch(es)
yo yarn over
Stitch Description
Bobble stitch: *Yo, insert hook into stitch, yo and pull up a loop, yo and pull through two loops; repeat from * in same st until you have 6 loops on your hook. Yo, pull through all 6 loops.
Pattern Notes
- Ch 1 at the beginning of the row does not count as a stitch.
- Do not skip first stitch in each row.
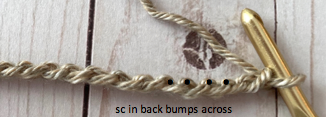
- After ch 54, work in back bump for Row 1. Rotate the chain toward you and insert your hook though the back bump loop.
- For all color changes, working on the wrong side (creating the bobble stitches): when working the last stitch of the previous color, stop before the last pull through of the stitch (there will be two loops of previous color on your hook), pull through with the next color and continue with the pattern. Carry the previous color yarn. Lay the unused color on top of the row you are working into and crochet over it on the last stitch of that color. Wait until the last stitch to crochet over so you don’t see the color through the right side of the pillow. This saves you from weaving in a lot of loose ends.
- When working the right side, carry the yarn from the previous row back to the first stitch of that color and crochet over it, so you can easily join it to the next row of bobbles.
- Even rows are right side of the pillow.
Crochet Pumpkin Pillow Pattern
Front of pillow
Begin: with color A ch 54.
Row 1: sc into back bump in 2nd ch from hook and in each ch across; ch 1, turn. (53)
Row 2: sc across; ch 1, turn. (53)
Row 3 – 14: rep Row 2.
Row 15: sc 15, join color B, [bo, sc] 4 times, join color A, sc 8, join color B, [bo, sc] 4 times, join color A, sc 14; ch 1, turn.

Row 16: rep Row 2.

Row 17: sc 13, join color B, bo, sc, join color A, sc 8, join color B, bo, sc, join color A, sc 4, join color B, bo, sc, join color A, sc 8, join color B, bo, sc, join color A, sc 12; ch 1, turn.
Row 18: rep Row 2.
Row 19: sc 11, join color B, bo, sc, join color A, sc 12, join color B [bo, sc] 2 times, join color A, sc 12, join color B, bo, sc, join color A, sc 10; ch 1, turn.
Row 20: rep Row 2.
Row 21: sc 9, join color B, bo, sc, join color A, sc 15, join color B, bo, sc, join color A, sc 15, join color B, bo, sc, join color A, sc 8; ch 1, turn.
Row 22: rep Row 2.
Row 23: sc 7, join color B, bo, sc, join color A, sc 36, join color B, bo, sc, join color A, sc 6; ch 1, turn.
Row 24: rep Row 2.
Row 25: sc 6, join color B, bo, sc, join color A, sc 38, join color B, bo, sc, join color A, sc 5; ch 1, turn.
Row 26: rep Row 2.
Row 27: rep Row 25.
Row 28: rep Row 2.
Row 29: sc 5, join color B, bo, sc, join color A, sc 40, join color B, bo, sc, join color A, sc 4; ch 1, turn.
Rows 30 – 41: rep Row 2 and 29.
Row 42: rep Row 2.
Row 43: rep Row 25.
Row 44: rep Row 2.
Get the PDF Pattern – Crochet Pumpkin Pillow Pattern
Row 45: rep Row 25.
Row 46: rep Row 2.
Row 47: rep Row 23.
Row 48: rep Row 2.
Row 49: sc 9, join color B, bo, sc, join color A, sc 32, join color B, bo, sc, join color A, sc 8; ch 1, turn.
Row 50: rep Row 2.
Row 51: sc 11, join color B, bo, sc, join color A, sc 28, join color B, bo, sc, join color A, sc, 10; ch 1, turn.
Row 52: rep Row 2.
Row 53: sc 13, switch to color B, bo, sc, join color A, sc 8, join color C, bo, sc, join color A, sc 4, join color C, bo, sc, join color A, sc 8, join color B, bo, sc, join color A, sc 12; ch 1, turn.
Row 54: rep Row 2.
Row 55: sc 15, join color B, [bo, sc] 4 times, join color A, sc, join color C, bo, sc, join color A, sc 3, join color C, bo, sc, join color B, [bo, sc] 4 times, join color A, sc 14; ch 1, turn.
Row 56: rep Row 2.
Row 57: sc 26, join color C, bo, sc, join color A, sc 2, join color C, bo, sc, join color A sc 21; ch 1, turn.
Row 58: rep Row 2.
Row 59: sc 28, join color C, [bo, sc] 2 times, join color A, sc 21; ch 1, turn.
Row 60: rep Row 2.
Rows (61-73): rep Row 2. Fasten off, weave in ends.
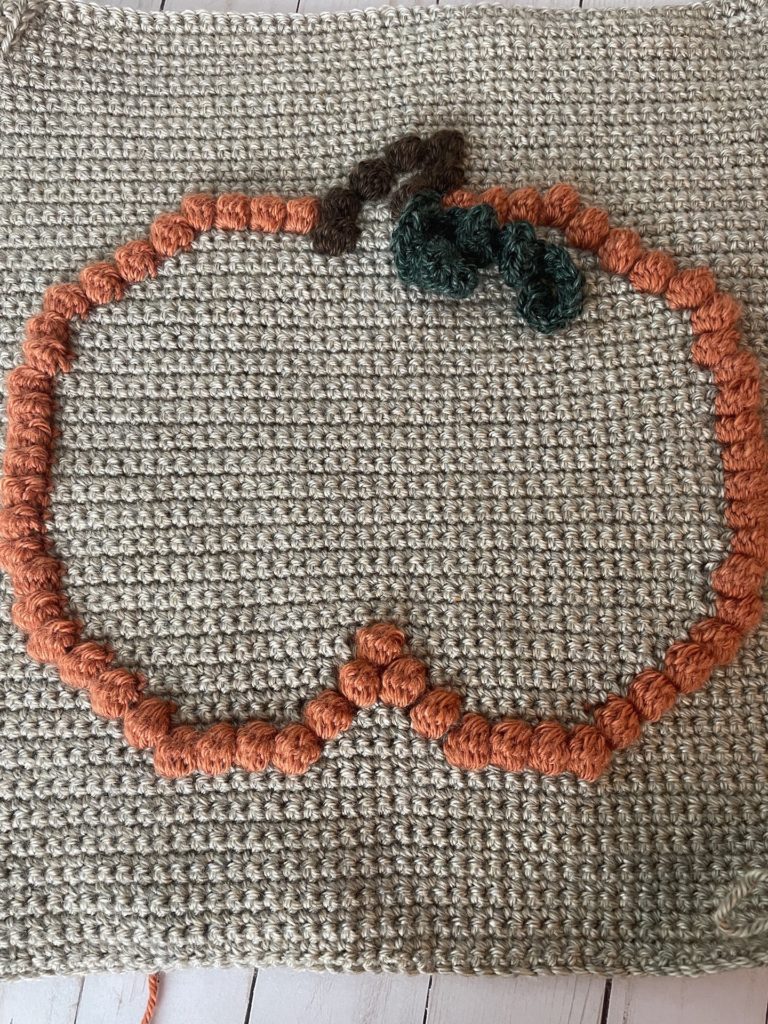
Back of Pillow
Begin: with color A ch 54.
Row 1: sc into back bump in 2nd ch from hook and in each ch across; ch 1, turn. (53)
Row 2 – 73: sc across; ch 1, turn. Fasten off, weave in ends. (53)
Pumpkin Vine (Make 2)
Begin: with color D ch 18.
Row 1: 2 sc in 2nd ch from hook and in each ch across. Fasten off, leave a 6-inch tail.
Begin: with color D ch 11.
Row 1: 2 sc in 2nd ch from hook and in each ch across. Fasten off, leave a 6-inch tail.
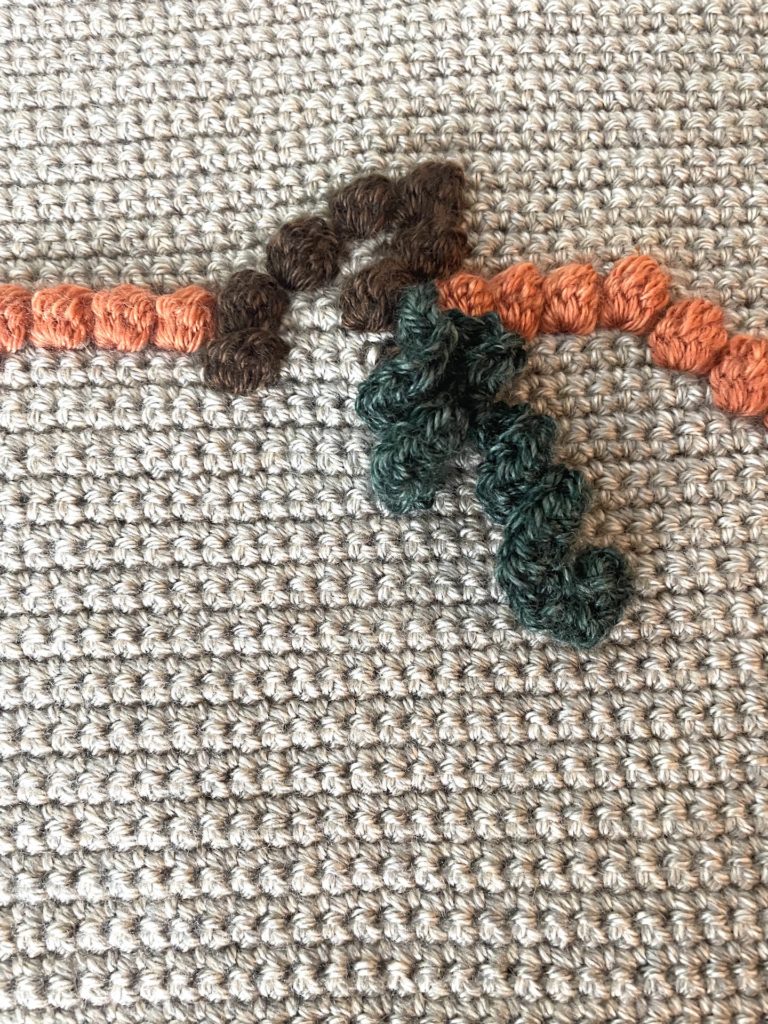
Using the tail ends, tie both vines at the top of the pumpkin at the bottom of the stem. Attach by inserting the tail ends from the right side of the pillow through the wrong side and double knot around one of the stitch posts.
Border
Line up both sides of pillow with rs facing out.
Note: Line up both sides and secure them with stitch markers to hold in place.
Round 1: Working through both layers, attach color A in corner st, work (sl st, ch 1, sc, ch 2, sc) in corner sp, sc 51 across, (sc, ch 2, sc) in corner sp, sc 51 down side working approximately 2 sc for each 3 rows, (sc, ch 2, sc) in corner sp, sc 51 across. At this point insert your 16” x 16” pillow. With stitch markers hold the two sides closed while finishing the last side of the pillow border. Once pillow is inserted (sc, ch 2, sc) in corner sp, sc 51 across, sl st in first sc in corner. Fasten off, weave in ends.
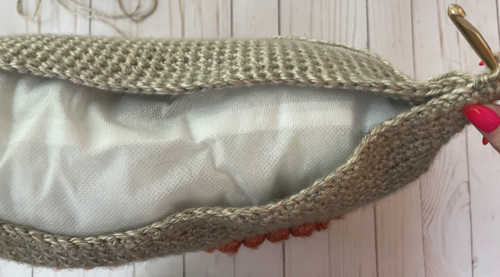
Round 2: With color C sl st to join in ch-2 sp of previous round, *(sc, ch 2, sc) in corner ch-2 sp, sc
back loop only in each st to next corner ch-2 sp; rep from * around, sl st in first sc of corner. Fasten off, weave in ends.
You may also like….
