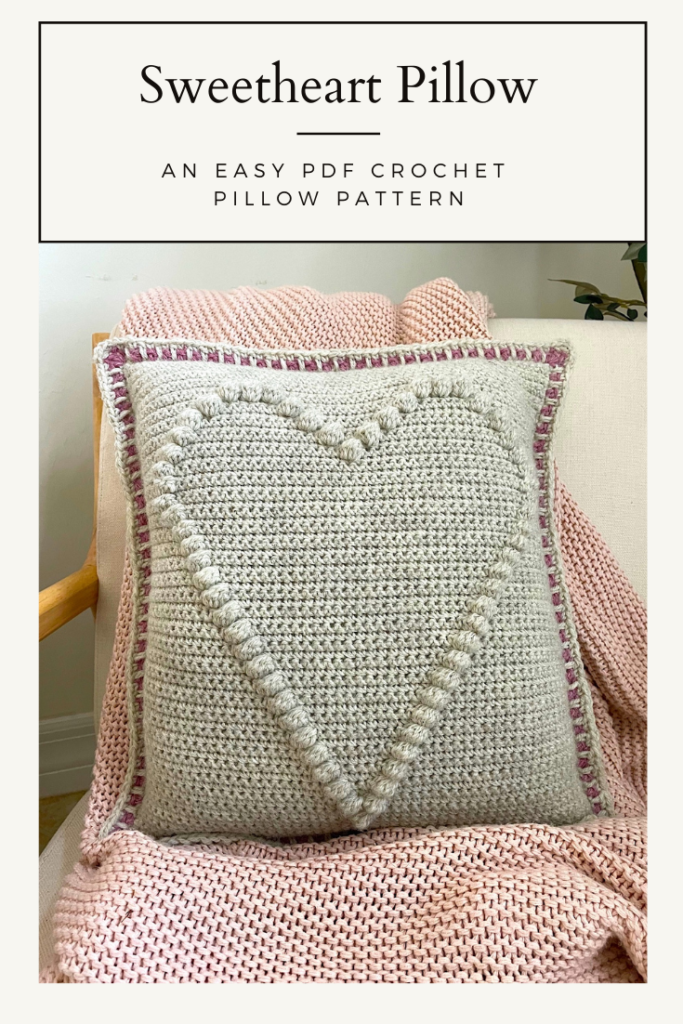
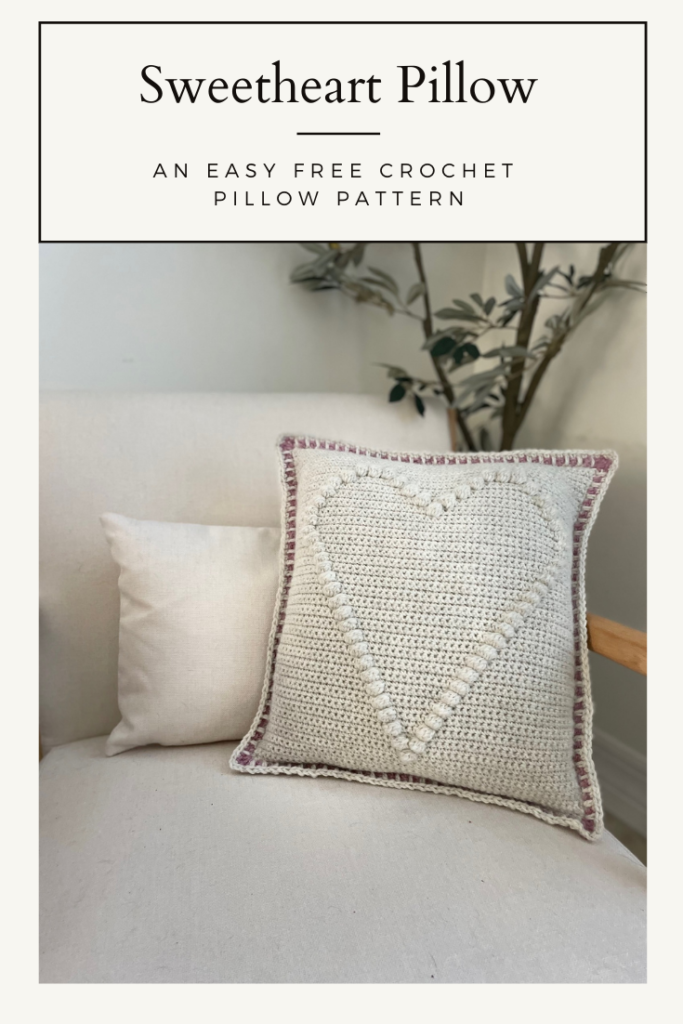
First, can you believe it’s already 7 days until Valentine’s Day? Second, don’ worry, there is still time to make a the Sweetheart Crochet Pillow as a gift for your sweetheart or a decorative piece for the home.
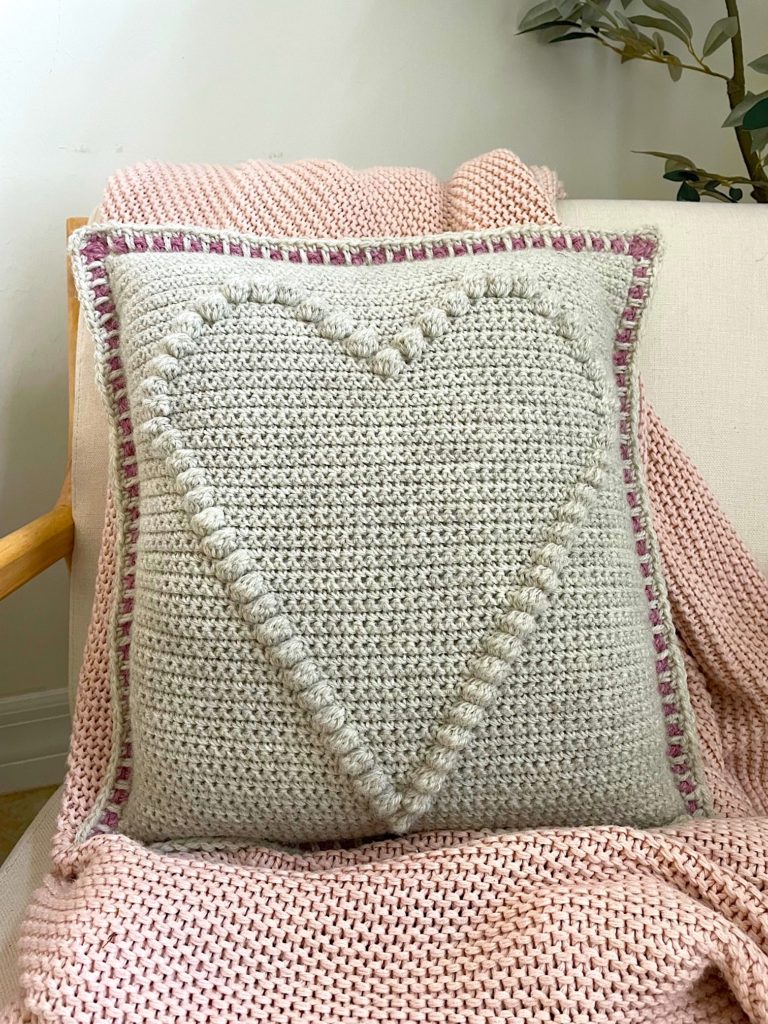
Valentine’s is typically a couples holiday. However, Valentine’s in our home is a family affair. We typically have the kids go on a scavenger hunt for goodies that we got them. This year I decided to make my daughter a little gift to show my love, the Sweetheart Crochet Pillow. She LOVES pillows on her bed so I knew a heart pillow would be perfect.
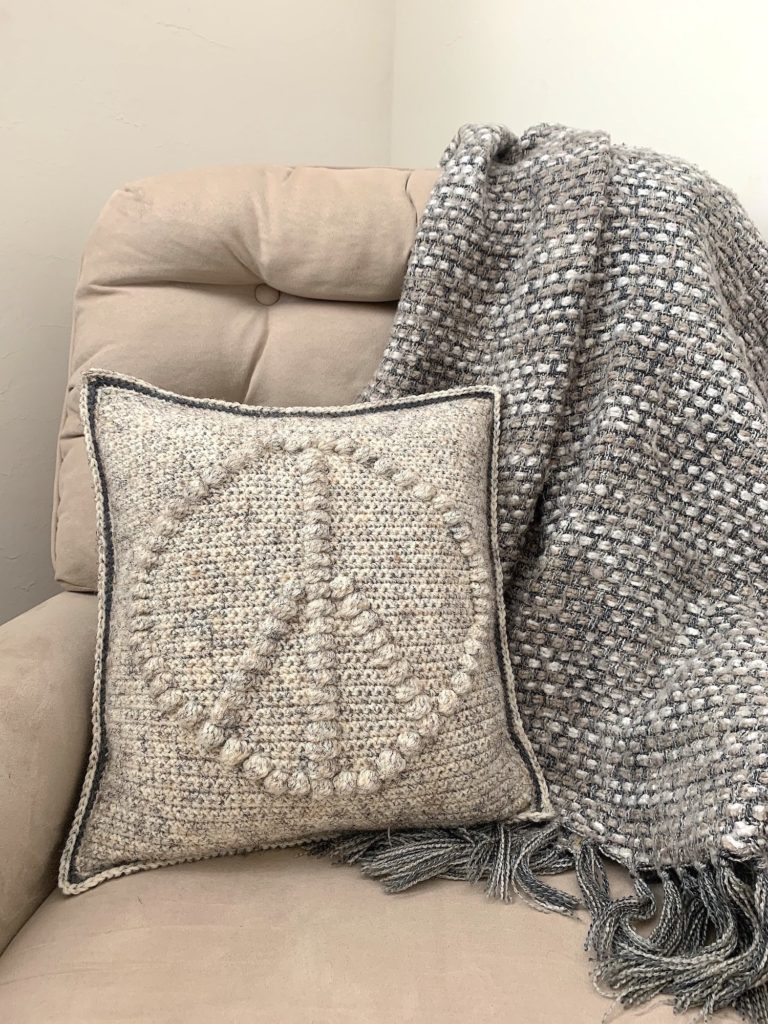
You may also like the Peace Out 2020 Pillow
Yarn
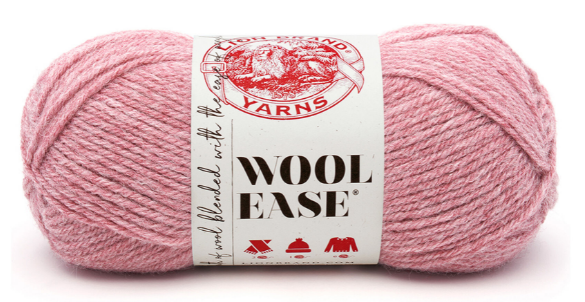
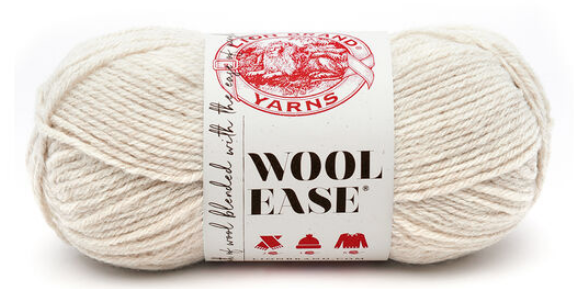
First off, I loved the end result of my Lone Pine Tree Crochet Pillow using Lion Brand’s Wool Ease yarn so I decided it would be perfect for this crochet pillow. Second, I also love the look of Lion Brand’s heather yarns. They give that cozy, farmhouse feel. Also, this yarn is so great because of the great price point, availability at almost all craft stores, and the countless colors it comes in. Finally, I can always pick this yarn up at my local Joann Fabric store, and most of the time use a great coupon on it.

Pin For Later
Pattern for Crochet Pillow
Yarn – Lion Brand Wool-Ease, Weight 4 Medium, (80% Acrylic, 20% Wool, 197yd/180m/3oz/85g), Color – (A) Natural Heather – 3 skeins, (B) Rose Heather – 1 skein
Hook Size – J-10, 6mm
Gauge – 4” square = 13 sts x 18 rows
Finished size – 16” W x 16” H
Will need a tapestry needle, scissors, and 16” x 16” pillow insert.
Stitch markers may also be used to help with seaming.
Abbreviations
bo bobble stitch
ch chain
dc double crochet
rep repeat
sc single crochet
st(s) stitch(es)
yo yarn over
Stitch Description
Bobble stitch: *Yo, insert hook into stitch, yo and pull up a loop, yo and pull through two loops; repeat from * in same st until you have 6 loops on your hook. Yo, pull through all 6 loops.
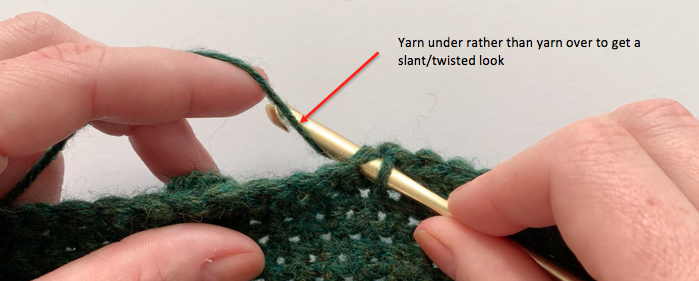
All single crochet stitches are worked as follows: insert hook into stitch, yarn under and bring the hook from back to front, draw yarn through the stitch and up onto the working area of the crochet hook, you will have two loops on the hook. Yo and draw through both loops on the hook. Yarn under was used for this project for a slant/twisted look with increased tension.
Pattern Notes
Ch 1 at the beginning of the row does not count as a stitch.
Do not skip first stitch in each row.
After ch 54, work in back bump for Row 1.
Then, rotate the chain toward you and insert your hook though the back bump loop.Even rows are right side of the pillow.
Pin For Later
Pattern
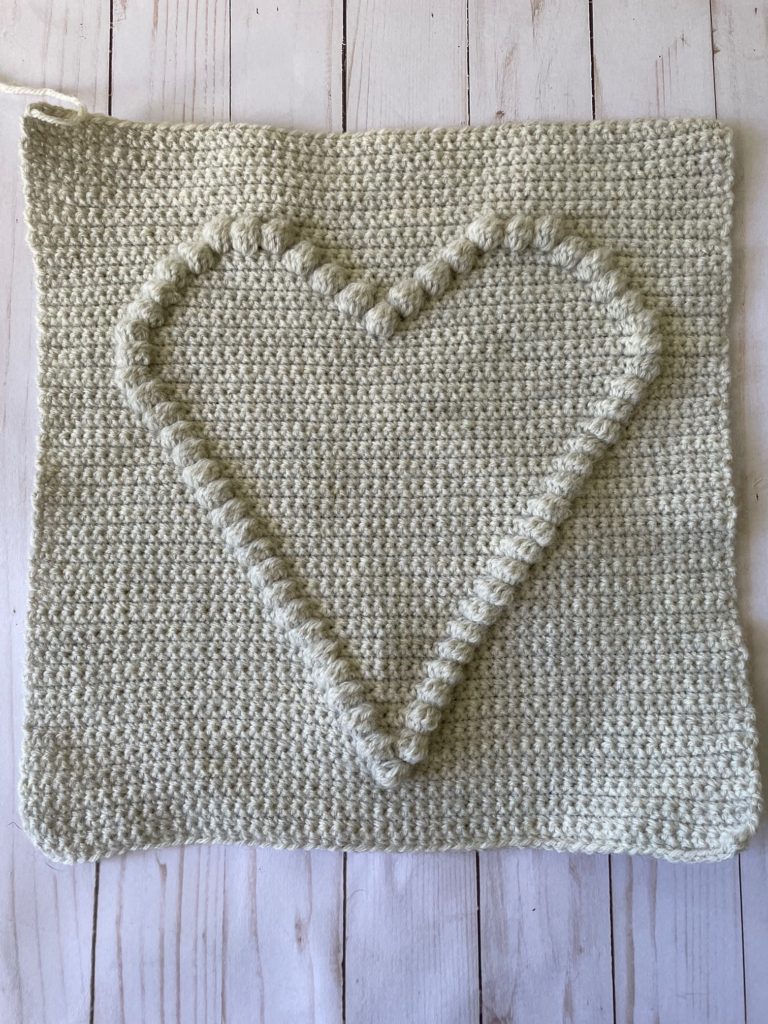
Front of pillow
Begin: with color A ch 54.
Row 1: sc into back bump in 2nd ch from hook and in each ch across; ch 1, turn. (53)
Row 2: sc across; ch 1, turn. (53)
Row 3 – 10: rep Row 2.
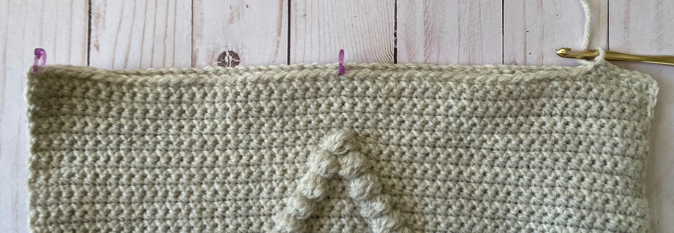
Row 11: sc 26, bo, sc 26; ch 1, turn.
Row 12: rep Row 2.
Row 13: sc 25, bo, sc, bo, sc 25; ch 1, turn.
Row 14: rep Row 2.
Row 15: sc 24, bo, sc 3, bo, sc 24; ch 1, turn.
Row 16: rep Row 2.
Row 17: sc 23, bo, sc 5, bo, sc 23; ch 1, turn.
Row 18: rep Row 2.
Row 19: sc 22, bo, sc 7, bo, sc 22; ch 1, turn.
Row 20: rep Row 2.
Row 21: sc 21, bo, sc 9, bo, sc 21; ch 1, turn.
Row 22: rep Row 2.
Row 23: sc 22, bo, sc 7, bo, sc 22; ch 1, turn.
Row 24: rep Row 2.
Row 25: sc 19, bo, sc 13, bo, sc 19; ch 1, turn.
Row 26: rep Row 2.
Row 27: sc 18, bo, sc 15, bo, sc 18; ch 1 turn.
Row 28: rep Row 2.
Row 29: sc 17, bo, sc 17, bo, sc 17; ch 1, turn.
Row 30: rep Row 2.
Continued…..
Row 31: sc 16, bo, sc 19, bo, sc 16; ch 1, turn.
Row 32: rep Row 2.
Row 33: sc 15, bo, sc 21, bo, sc 15; ch 1, turn.
Row 34: rep Row 2.
Row 35: sc 14, bo, sc 23, bo, sc 14; ch 1, turn.
Row 36: rep Row 2.
Row 37: sc 13, bo, sc 25, bo, sc 13; ch 1, turn.
Row 38: rep Row 2.
Row 39: sc 12, bo, sc 27, bo, sc 12; ch 1, turn.
Row 40: rep Row 2.
Row 41: sc 11, bo, sc 29, bo, sc 11; ch 1, turn.
Row 42: rep Row 2.
Row 43: sc 10, bo, sc 31, bo, sc 10; ch 1, turn.
Row 44: rep Row 2.
Row 45: sc 9, bo, sc 33, bo, sc 9; ch 1, turn.
Row 46: rep Row 2.
Row 47: sc 8, bo, sc 35, bo, sc 8; ch 1, turn.
Row 48: rep Row 2.
Row 49: sc 7, bo, sc 37, bo, sc 7; ch 1, turn.
Row 50: rep Row 2.
Continued…
Row 51: rep Row 49.
Row 52: rep Row 2.
Row 53: rep Row 49.
Row 54: rep Row 2.
Row 55: sc 8, bo, sc 17, bo, sc 17, bo, sc 8; ch 1, turn.
Row 56: rep Row 2.
Row 57: sc 9, bo, sc 14, bo, sc 3, bo, sc 14, bo, sc 9; ch 1, turn.
Row 58: rep Row 2.
Row 59: sc 10, bo, sc 11, bo, sc 7, bo, sc 11, bo, sc 10; ch 1, turn.
Row 60: rep Row 2.
Row 61: sc 12, bo, sc 7, bo, sc 11, bo, sc 7, bo, sc 12; ch 1, turn.
Row 62: rep Row 2.
Row 63: sc 14, [bo, sc] 2 times, bo, sc 15, [bo, sc] 2 times, bo, sc 14; ch 1, turn.
Row 63 – 73: rep Row 2. Fasten off, weave in ends.
Back of pillow
Begin: with color A, ch 54.
Row 1: sc into back bump in 2nd ch from hook and in each ch across; ch 1, turn. (53)
Row 2 – 73: sc across; ch 1, turn. Fasten off, weave in ends. (53)
Border
Line up both sides of pillow with rs facing out.
Note: Line up both sides and secure them with stitch markers to hold in place.
Round 1: Attach color A in corner st, proceed to work through both layers around, (sl st, ch 1, sc, ch 2, sc) in same corner as join, sc 51 across, (sc, ch 2, sc) in corner sp, sc 51 down side working approximately 2 sc for each 3 rows, (sc, ch 2, sc) in corner sp, sc 51 across. At this point insert your 16” x 16” pillow. With stitch markers hold the two sides closed while finishing the last side of the pillow border. Once pillow is inserted (sc, ch 2, sc) in corner sp, sc 51 across, sl st in first sc in corner. Fasten off, weave in ends.
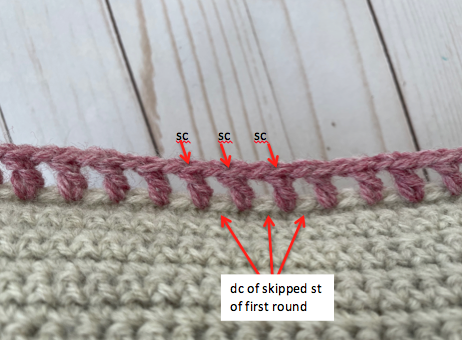
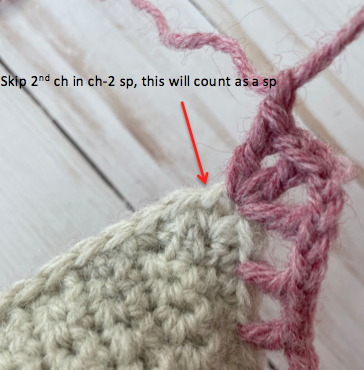
Round 2: With color B sl st in ch-2 sp of previous row, *(dc, ch 1) 3 times in corner ch-2 sp, dc in next sc, ch 1, sk next sc] to next corner ch-2 sp, rep from * 3 more times, sl st in first dc of corner. Fasten off, weave in ends.
Round 3: With color A sl st in first dc in corner, ch 1, *(sc in first dc, ch 1, 3 sc in next dc, ch 1, sc in 3rd dc) of corner, [working over the ch-1 sp from round 2 work a dc in skipped sc of first round, sc in next dc from round 2] to 1 st before corner, dc in last skipped sc, rep from * 3 more times, sl st in first sc. Fasten off, weave in ends.