

Christmas is my favorite time of year. I’m one that loves special traditions. Once I learned to crochet I knew that I wanted each of my family members to have their own handmade Christmas crochet stocking. This pattern works up very quickly using simple stitches worked in the back loop. The result…..a beautiful farmhouse stocking with amazing texture. This stocking makes for the perfect gift. A gift that is handmade always is more special.
Inspiration for Farmhouse Christmas Crochet Stocking
My grandmother, who I never got to meet, always made handmade items whether it be knitting or crochet. My mom didn’t get the crafty gene, so when I fell in love with crochet I knew I would make my family as many handmade things as I could. Christmas crochet stockings are the perfect thing to make family and friends. You can combine any colors you want, and you can also stitch their names on to the stocking.


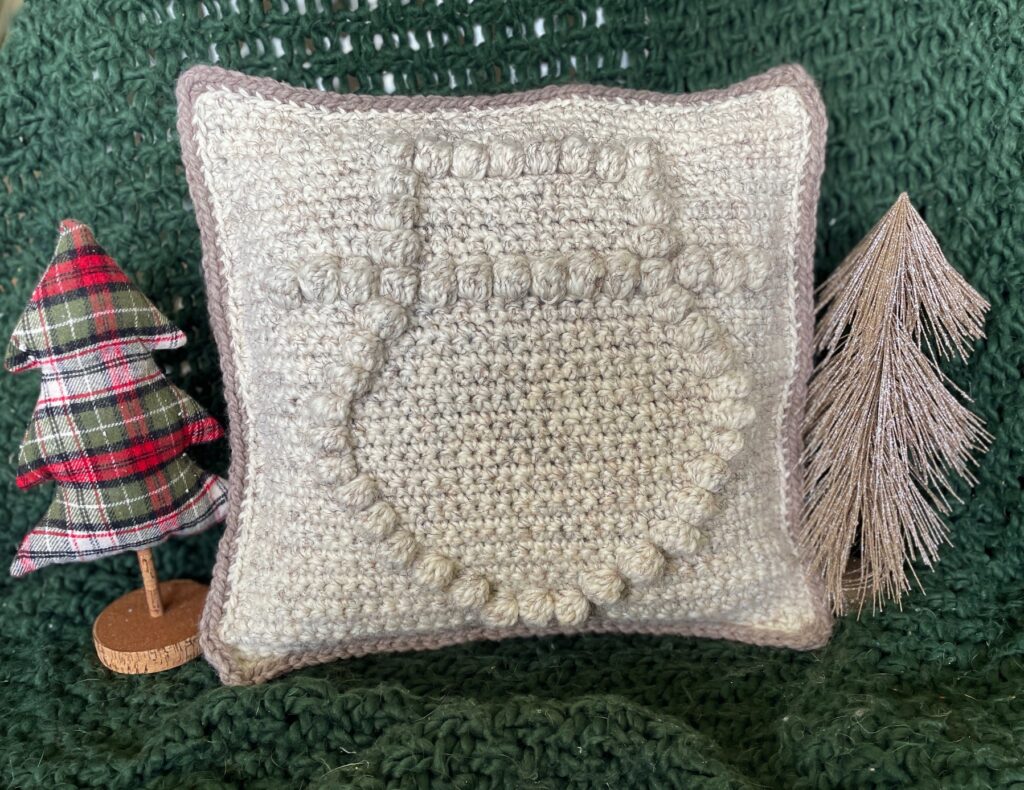
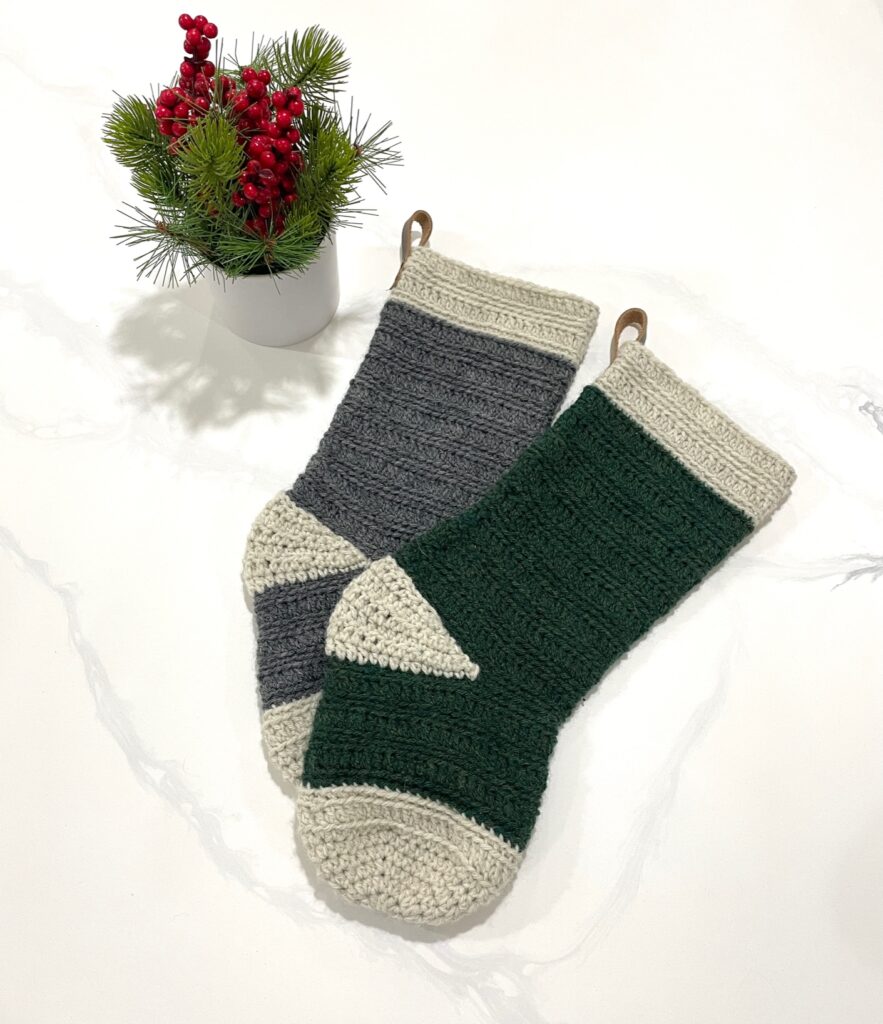
I wanted this Christmas crochet stocking to have a cozy farmhouse feel. Using Lion Brand’s Wool Ease yarn gives that rustic cozy look. The yarn combined with the texture you get from working stitches in the back loop only really gave me the farmhouse look that I was going for. As a finishing touch I added a leather strap for the loop to hang the stocking with.
Get PDF Pattern HERE
Two Part Video Tutorial Below
Yarn
As you all know, I love the cozy farmhouse look. I knew that Lion Brand Wool Ease was the best yarn for this project. This yarn comes in many heather colors which gives it a more natural look. This yarn is widely available in craft stores with a great price tag. I am always able to find a coupon from Joann Fabric to save even more.

You May Also Like…..
Get PDF Pattern HERE
Project Details for Christmas Crochet Stocking
Yarn – Lion Brand Wool-Ease, Weight 4 Medium, (80% Acrylic, 20% Wool, 197yds/180m/3oz/85g), Color – (A) Natural Heather – 1 skeins, (B) Oxford Grey – 1 skein
Hook Size – H
Gauge – 4″ square = 16 sts x 12 rows
Finished size – 6″ W x 16″ H
Will need a tapestry needle, scissors, ½” wide leather strip, double cap rivets and setting tools.
Abbreviations
blo back loop only
ch chain
hdc half double crochet
dc double crochet
rep repeat
sc single crochet
sc2tog single crochet 2 together
st(s) stitch(es)
yo yarn over
Stitch Description
Sc2tog: This stitch is used to decrease. Insert hook into stitch, yo and pull up a loop, insert hook into next stitch, yo and pull up a loop, yo and pull through all 3 loops on your hook.
Pattern Notes
- Ch 1 at the beginning of the row does not count as a stitch.
- Do not skip first stitch in each row.
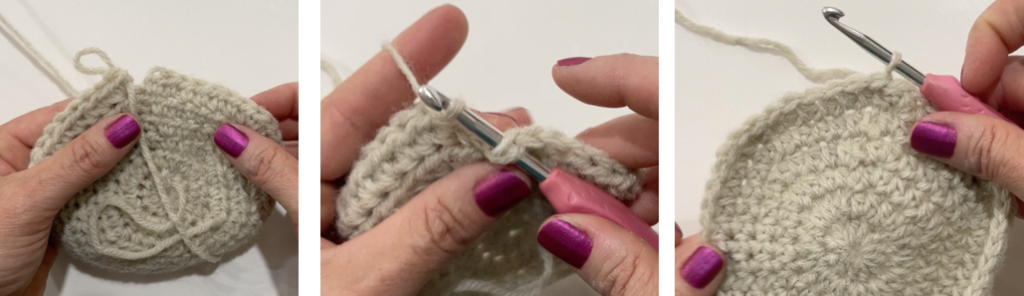
- When working rows that use blo you will sl st to the first st by removing your hook from your work, turn your work over to the inside of the stocking, insert you hook into the first st, grab your ending loop from the round and pull through. Turn your work back over to the outside of the stocking. This makes it so the seam is not as noticeable while working the blo stitches.
Pattern for Christmas Crochet Stocking
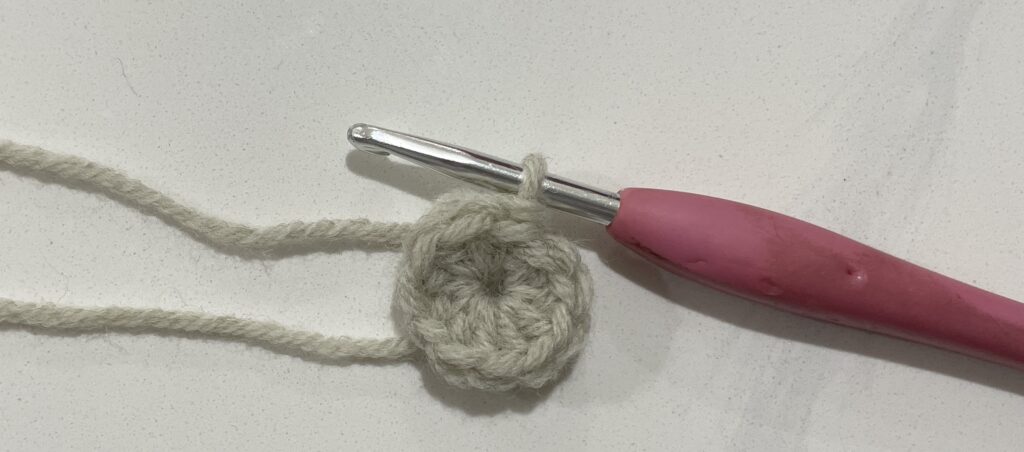
Toe
Begin: with color A ch 2.
Rnd 1: 12 hdc in second ch from hook, sl st in first hdc, ch 1. (12)
Rnd 2: 2 hdc in each st around, sl st infirst hdc, ch 1. (24)
Rnd 3: *[Hdc in next 3 sts, 2 hdc in next st], rep from * to end, sl st in first hdc, ch 1. (30)
Rnd 4: *[Hdc in next 4 sts, 2 hdc in next st], rep from * to end, sl st in first hdc, ch 1. (36)
Rnd 5: *[Hdc in next 5 sts, 2 hdc in next st], rep from * to end, sl st infirst hdc, ch 1. (42)
Rnd 6: *[Hdc in next 6 sts, 2 hdc in next st], rep from * to end, sl st in first hdc, ch 1. (48)
Rnd 7: Dc blo around, sl st to first dc, ch 1.
Rnd 8: Sc blo around, sl st to first sc, join color B with a ch 1.
Rnds 9 – 10: Rep Rnd 8.
Rnd 11: Rep Rnd 7.
Rnds 12 – 17: Rep Rnds 9 -11.
Rnds 18 – 19: Rep Rnd 8. Fasten off.
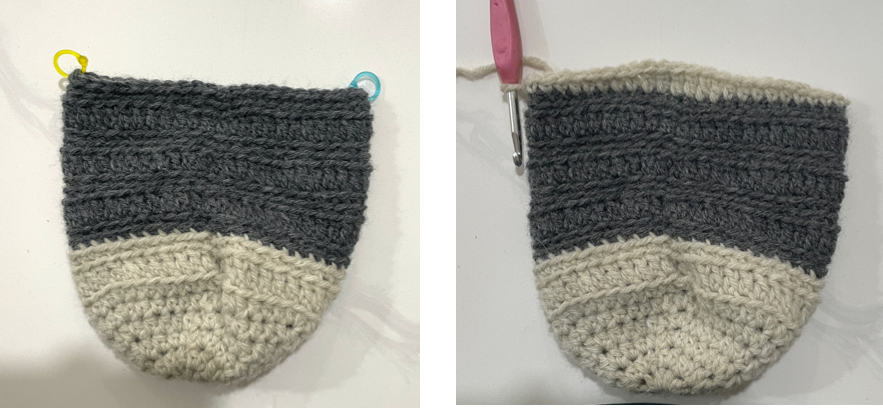
Heel
Row 1: With color A, join with sl st in the thirteenth st to the right of the seam (I recommend placing stitch markers at the beginning and end of heel), ch 1, sc in same st, sc 4, hdc 5, dc 6, hdc 5, sc 5; ch 1, turn. Leave remaining sts unworked. (26)
Row 2: Sc2tog, sc 4, hdc 4, dc 6, hdc 4, sc 4, sc2tog; ch 1, turn. (24)
Row 3: Sc2tog, sc 3, hdc 4, dc 6, hdc 4, sc 3, sc2tog; ch 1, turn. (22)
Row 4: Sc2tog, sc 3, hdc 3, dc 6, hdc 3, sc 3, sc2tog; ch 1, turn. (20)
Row 5: Sc2tog, sc 2, hdc 3, dc 6, hdc 3, sc 2, sc2tog; ch 1, turn. (18)
Row 6: Sc2tog 2, sc, hdc 2, dc 4, hdc 2, sc, sc2tog 2. Fasten off. (14)
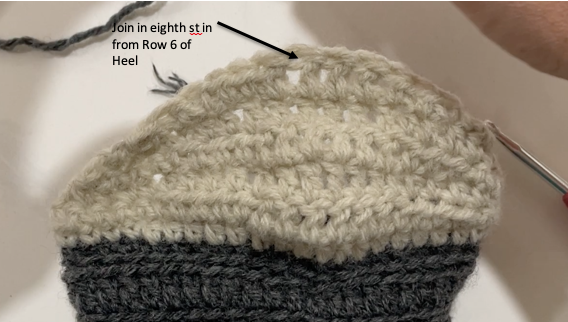
Leg
Rnd 1: Join color B with sl st in blo in eighth st in from Row 6 of the Heel, ch 1, sc blo in same st, sc blo in next 7 sts, sc blo 6 down unfinished side of heel, sc blo 22, sc blo 6 down other unfinished side of heel, sc blo in last 7 sts, sl st to first sc. (48)

Rnd 2: Rep Rnd 8 of Toe.
Rnd 3: Rep Rnd 7 of Toe.
Rnds 4 – 24: Rep Rnds 9 – 11 of Toe.
Rnds 25 – 30: Join color A, rep Rnds 9 – 11 of Toe. Fasten off.
Hanging Loop
Cut a ½” wide strip of leather into a 5 ½” long piece.
Fold the leather strip in half; determine where you want to place your two rivets. Using a leather punch, line up your first hole and hammer the punch until you have a hole through both ends of the leather. Do this twice.
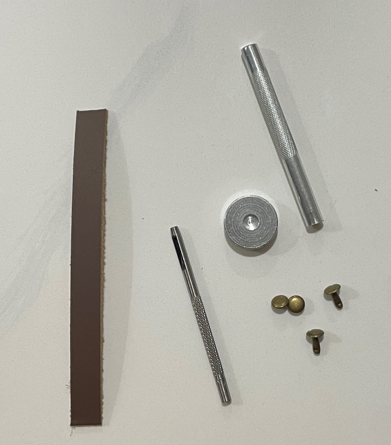
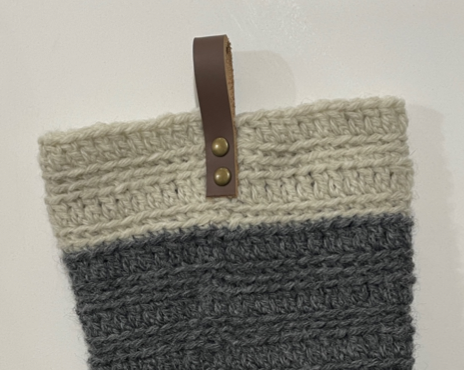
Wrap the leather strap along the seam of the stocking. Place the first rivet through your first hole, so it goes through the outside leather strip, through the stocking, and through the inside leather strip. Place the rivet end cap on the rivet and press until you hear it click. Using the setting tool, lay the rivet in the divot, use the curved end of the setting tool and place it on top of the rivet, then hammer 3 times. Repeat this with the second rivet.
Below is the two part video tutorial.